Supporting Image
Feb 12, 2019 0    
Forming nanostructures
Froot Loops, Legos, and Self-Assembly

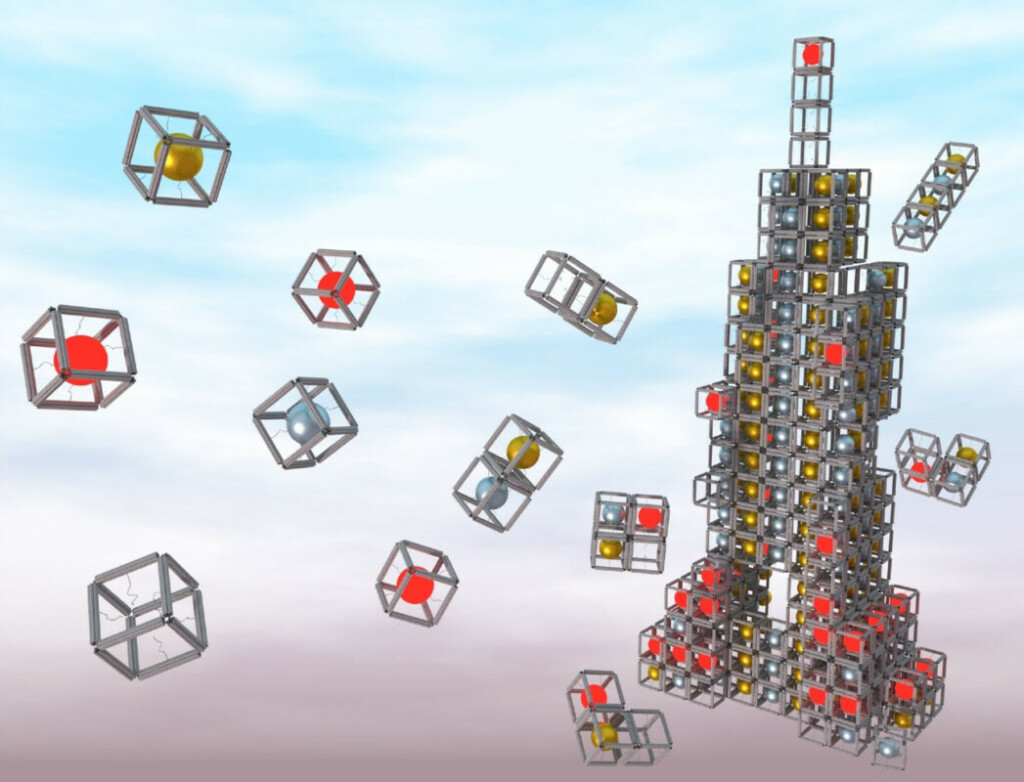
Self-assembly is the process by which individual building blocks—at the smallest level, atoms—spontaneously form larger, complex structures. The structures they form depend on the size and shape of the building blocks, and on the conditions to which these building blocks are exposed. This can be demonstrated quite simply using breakfast cereal, or for slightly more complex cases using specially prepared Legos.

Understanding how particular kinds of building blocks interact under a variety of conditions is useful for scientists who want to develop new materials with novel properties. Self-assembly allows researchers to synthesize such materials much more rapidly and easily than other methods, since the behavior of atoms at the nanoscale can be controlled by manipulating conditions at the macroscale.


Approx time: 10 minutes
Things you'll need:
  • 2 medium-sized tupperware containers
  • Approx. 2 L of water
  • 1-2 cups of Froot Loops, Cheerios, or other ring-shaped cereal
  • 2x2 and 3x2 Lego bricks
  • Craft magnets
  • Superglue
  • Spray foam
Step 1

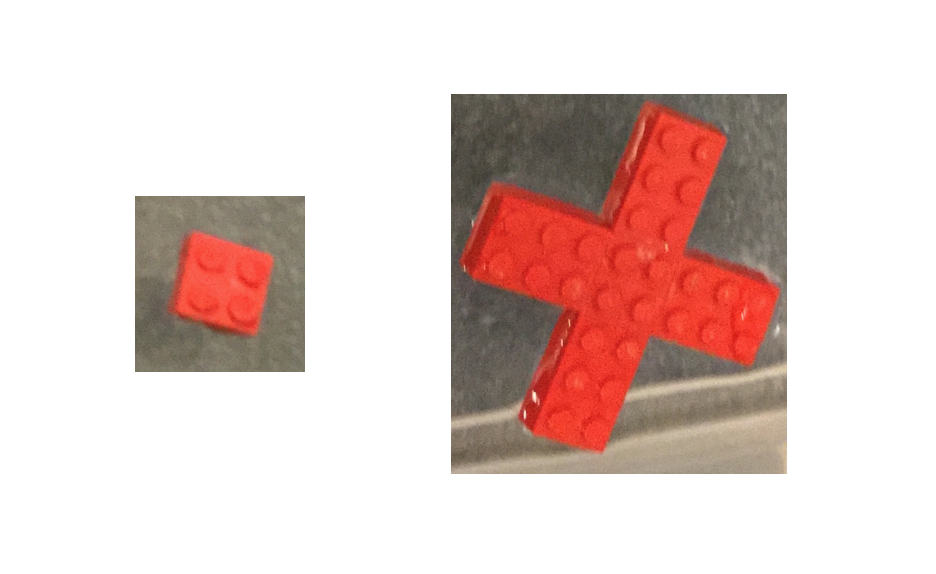
To prepare the Legos:  Begin by supergluing four 2x3 Lego bricks around one 2x2 brick to create a "plus sign" shape.  Repeat until you have at least 4-8 plus signs, leaving some 2x2 bricks unattached.

Fig. 1 (Click to enlarge). 2x2 Lego brick (left) with four 2x3 Lego bricks affixed (right).
Step 2

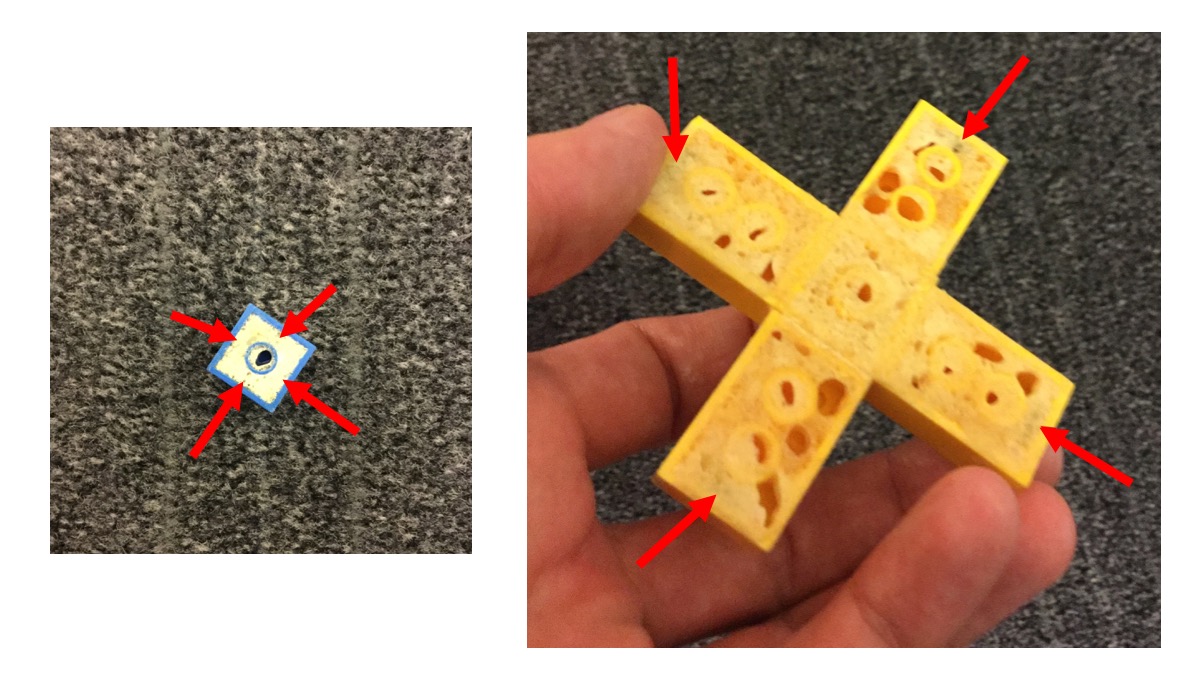
Next, superglue magnets to the inside surfaces of all four sides of the remaining the 2x2 bricks, and of the four ends of the "plus" signs. Pay attention to the polarity of the magnets:  For the simplest case, all four magnets glued into a particular 2x2 brick or "plus" sign should have the same polarity (i.e., should repel one another).

After all magnets have been attached, spray foam in the hollow bottom of the Lego. This will allow the Legos to float in water.

Fig. 2 (Click to enlarge). Magnets have been glued to the inside surfaces of the Legos (indicated here by red arrows) and the hollow undersides filled in with spray foam.  (Click to enlarge.)
Fig. 2 (Click to enlarge). Magnets have been glued to the inside surfaces of the Legos (indicated here by red arrows) and the hollow undersides filled in with spray foam. (Click to enlarge.)
Step 3

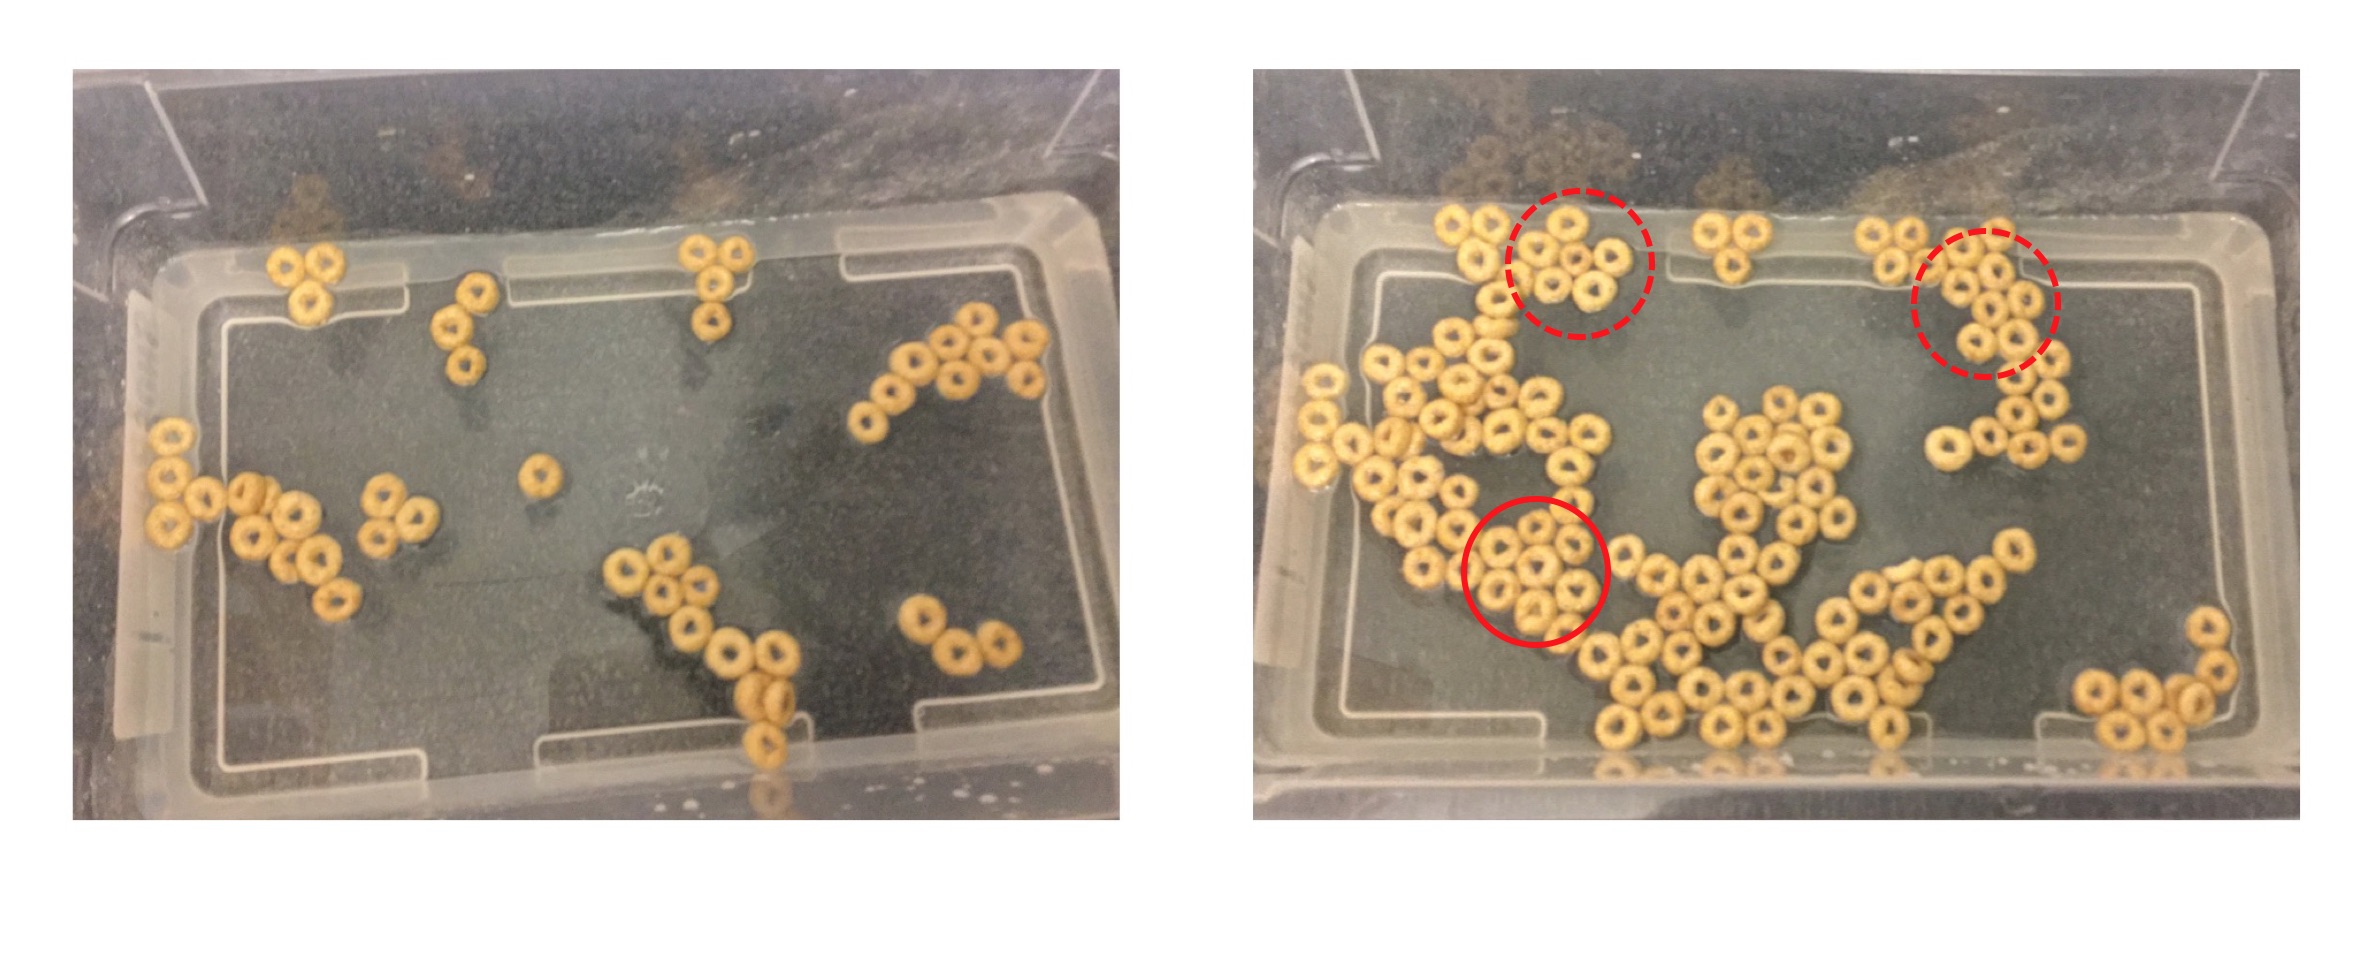
Fill two plastic tubs with approximately 2 inches of water. Add cereal, slowly at first, to the first bin.

Fig. 3 (Click to enlarge). Cheerios floating in water illustrate one form of self-assembly. What do you notice about the areas circled in red? (Click to enlarge.)
Step 4

While gently shaking the bin, add more cereal. Observe the effects. More vigorous shaking simulates the movement of atoms at higher temperatures. Temperature affects the forms of self-assembly a particular material may undergo.

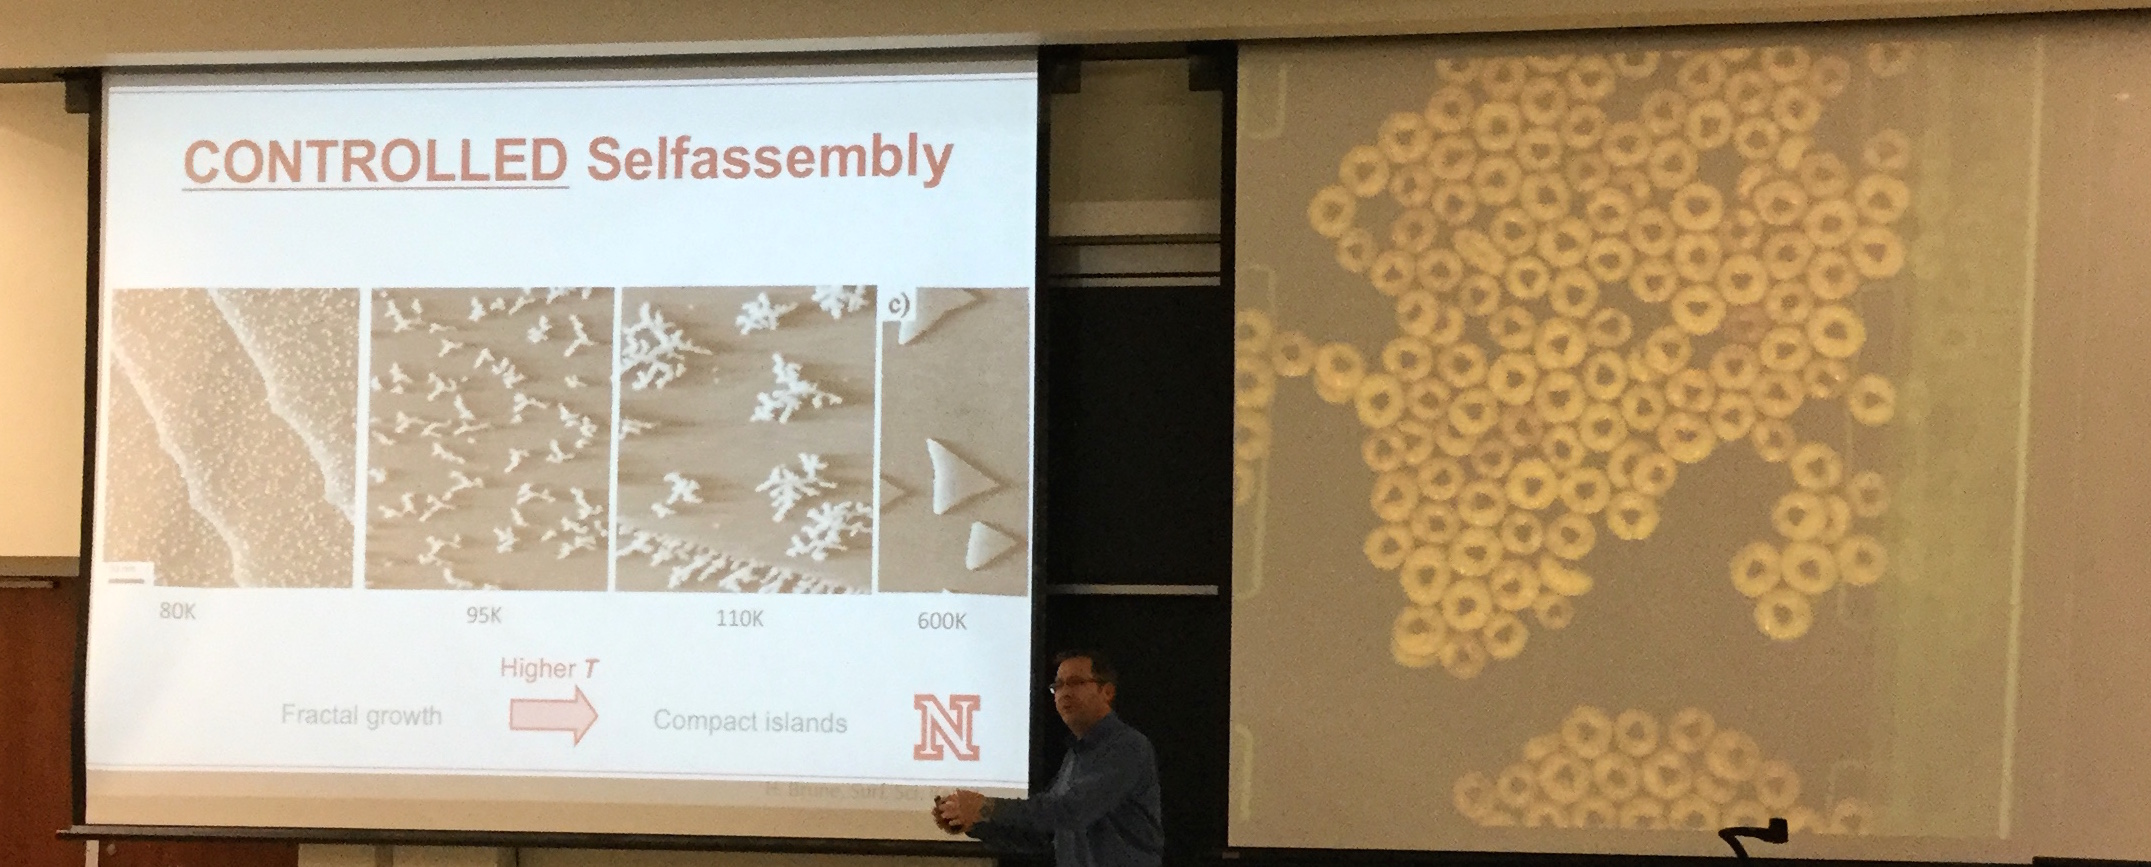
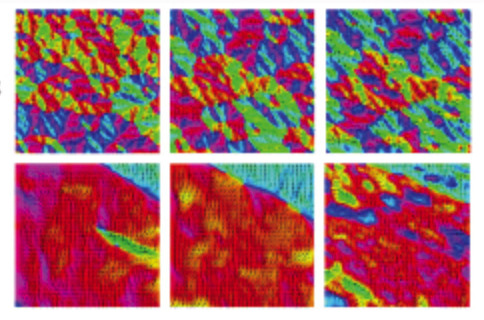
Fig. 4 (Click to enlarge). Dr. Enders demonstrates self-assembly in Cheerios (right) while presenting scanning tunneling microscopy (STM) images showing the self-assembly of silver atoms on a platinum substrate at various temperatures (left). (Click to enlarge.)
Step 5

Add the unattached 2x2 Lego bricks to the second bin.  Gently shake the bin and observe the effects.

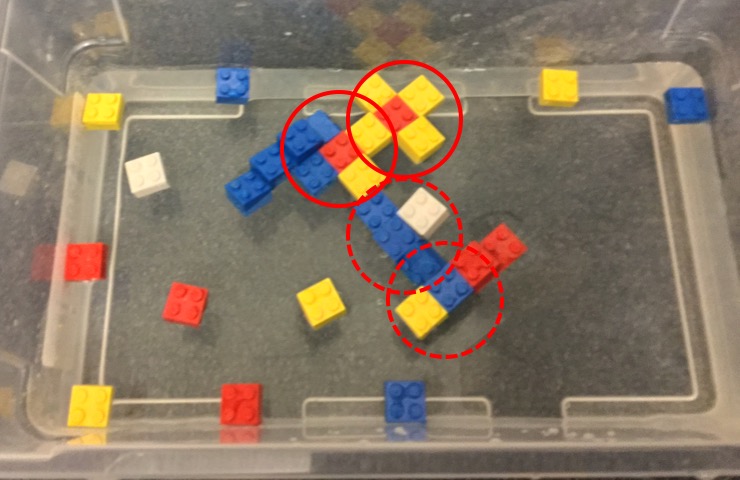
Fig. 5 (Click to enlarge). Self-assembly of magnetized 2x2 Lego bricks. What do you notice about the regions circled in red? Why do you think this is the optimal arrangement for these Legos? How would the arrangement be different if all Legos attracted all other Legos, as in the case of the cereal? (Click to enlarge.)
Step 6

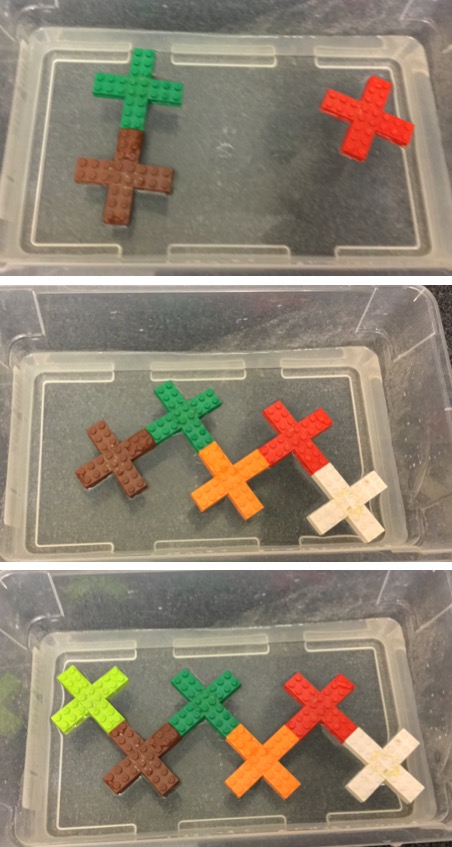
Predict what will happen when the Lego "plus" signs are used. Repeat Step 5 using the Lego "plus" signs.

Fig. 6 (Click to enlarge).
Step 7

For more advanced experiments, you can systematically vary the polarity of the magnets in particular positions inside some Legos, observing the effects of these changes.  You can also combine building blocks of different shapes—for example, mixing the 2x2 Lego bricks with the Lego "plus" signs or other Lego shapes, or using different kinds of cereal—to see how this will affect the self-assembly process and the optimal arrangement of the building blocks.

Why it Works

All instances of self-assembly, whether of Froot Loops, Legos, large molecules like DNA, or individual atoms, depend on two things: the size and shape of the building blocks, and the rules governing their interactions.

In the first case described here, using ring-shaped cereal, there is only one rule: attraction between all rings.  According to this rule, the most stable or "optimal" arrangement of the rings is the one in which each ring as is close as possible to as many other rings as possible.  This is what physicists call a "packing problem"; here, the solution or most stable arrangement is obtained when each ring is surrounded by six other rings.

In the case of the Legos, there are two rules guiding self-assembly: attraction between some Legos and repulsion between others. In addition, the building blocks are square or plus-shaped rather than circular, which in turn affects their optimal arrangement.

Floating the building blocks in water allows them to move freely, which is important for all self-assembly processes. Shaking the bin simulates the random (Brownian) motion of atoms and molecules, and more vigorous shaking simulates the more rapid movement which occurs at higher temperatures.


TAGS: #atoms    #nanostructures    #self-assembly    
 
SHARE THIS POST:

Related Posts

12/12
Supporting Image
Supporting Image
Self-assembly

How can you fabricate a huge number of nanostructures in a split second? Self-assembly is a fast technique for the mass production of materials and complex structures. But before self-assembly is ready for prime time, scientists need to establish ways to control this process, so that desired nanostructures emerge from the unstructured soup of basic building blocks that are fast-moving atoms and molecules. Click here to find out how!

0 0    

More Funsize Activities

05/19
Supporting Image
Supporting Image
Electric Crystals, Part 3

Students make paper models of crystal unit cells and build a large crystal structure together while reflecting on the role of symmetry in crystal formation. This lesson is part 3 of a 4-part student-driven, lecture-free series, in which students will do card sorts, build hands-on models, solve engineering design puzzles, and more!

0 0    
05/18
Supporting Image
Supporting Image
Electric Crystals, Part 2

Through hands-on activities using gumdrops and toothpicks, students will learn about unit cells that make up the repeating structures of crystals like table salt. This lesson is part 2 of a 4-part student-driven, lecture-free series, in which students will do card sorts, build hands-on models, solve engineering design puzzles, and more!

0 0    
11/30
Supporting Image
Supporting Image
Domains and Disks
by Shireen Adenwalla, Xiaoshan Xu

Magnets curve themselves into beautiful patterns called domains, which cannot be seen with the naked eye. Now that magnetic paint and nail polish are easily available, we can use magnets to create all kinds of magnetic patterns which we can see, photograph, erase and rewrite! Click to find out how YOU can paint with magnets!

2 2    
11/05
Supporting Image
Supporting Image
Light scattering and diffraction

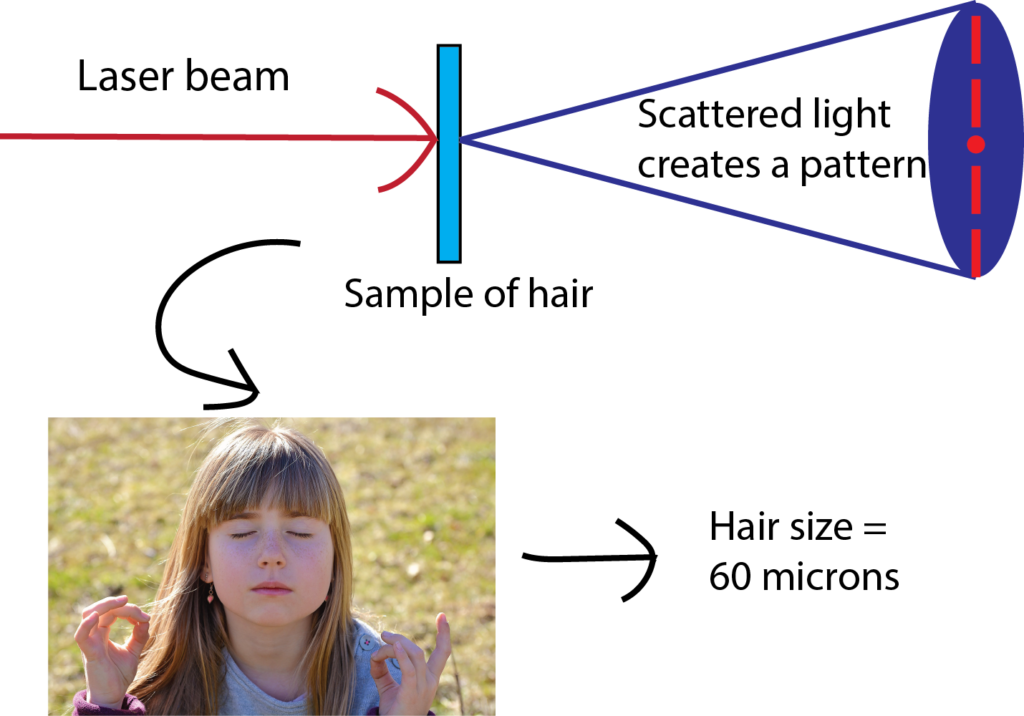
Have you ever wondered how scientists can accurately measure the size of very small objects like molecules, nanoparticles, and parts of cells? Scientists are continually finding new ways to do this, and one powerful tool they use is light scattering. When an incoming beam of light hits an object, the light "scatters," or breaks into separate streams that form different patterns depending on the size of the object. This incoming light might be visible light, like the light we see from the sun, or it might be higher-energy light like X-rays. The light from commercial laser pointers, it turns out, is perfectly suited to measure the size of a human hair!

0 0    
05/08
Supporting Image
Supporting Image
The Visible Spectrum and Spectroscopes
by Wesley Sliger, Martin Centurion

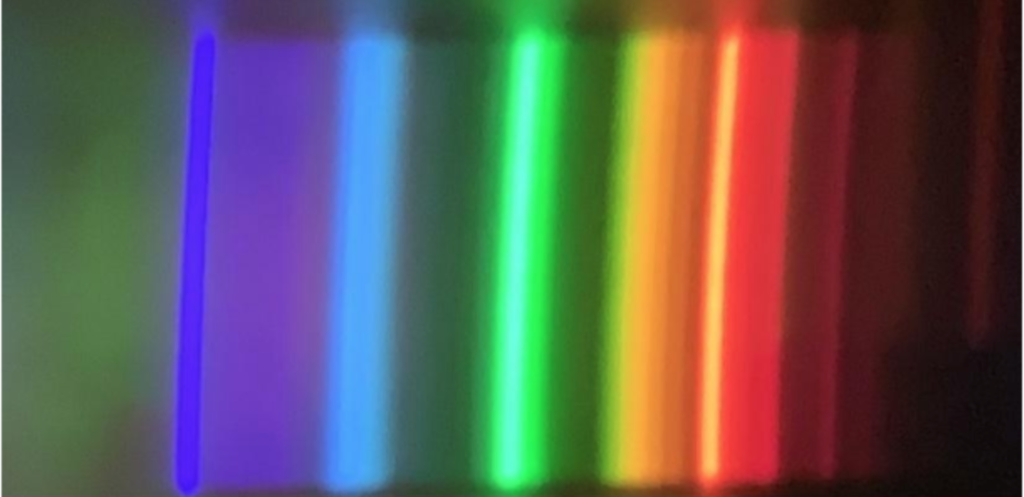
Have you ever wondered why shining light on a glass of water causes rainbows to appear? Or noticed the colors that reflect from a CD or DVD? In this lesson, you will make an instrument called a spectroscope that can separate light into its hidden components. You will also be able to use the spectroscope to understand why different colored objects and light sources appear the way they do.

0 0    
02/12
Supporting Image
Supporting Image
Forming nanostructures

Self-assembly is the process by which individual building blocks—at the smallest level, atoms—spontaneously form larger structures. The structures they form depend on the size and shape of the building blocks, and on the conditions to which these building blocks are exposed. This can be demonstrated quite simply using breakfast cereal, or for more complex cases using specially prepared Legos.

0 0    
03/14
Supporting Image
Supporting Image
Chemical vapor deposition

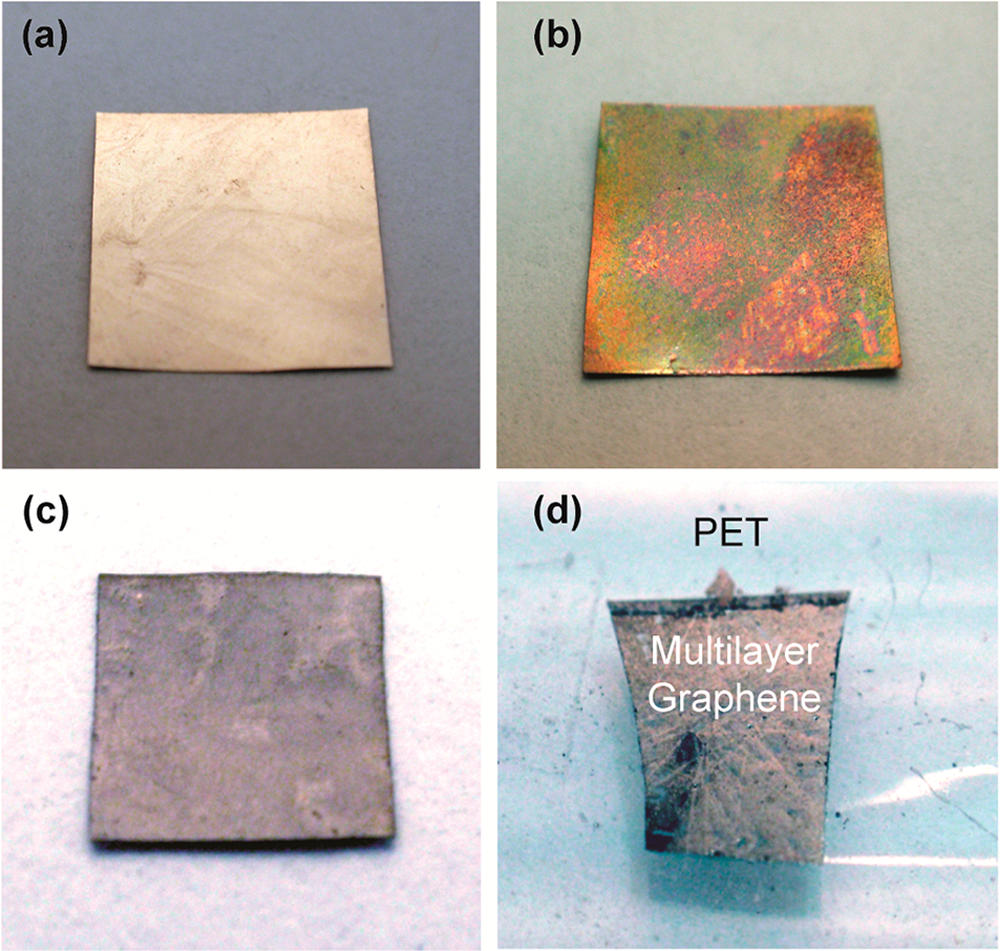
Graphene is a two-dimensional material made from a single sheet of atoms, with outstanding mechanical, electronic, and thermal properties. It is a promising candidate to enable next-generation technologies in a wide range of fields, including electronics, energy, and medicine. This economical, safe, and simple lab activity allows students to make graphene via chemical vapor deposition in 30–45 minutes in a classroom setting.

0 0    
02/19
Supporting Image
Supporting Image
Making upside-down images

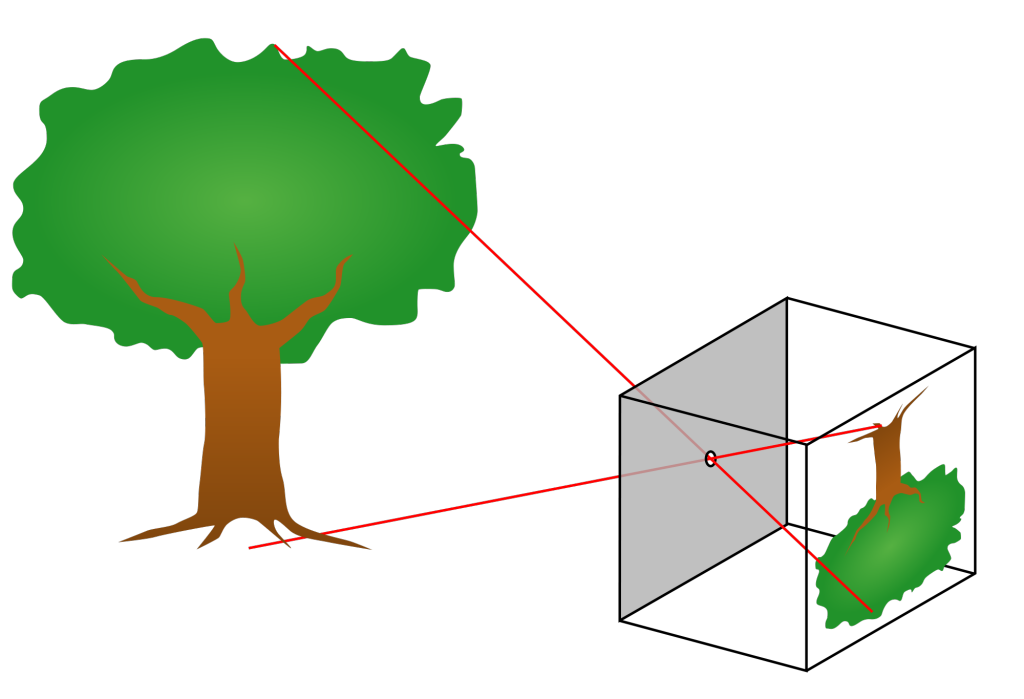
We can easily observe light with our eyes, and so it is one of the most familiar parts of the world around us. And yet, light often does amazing and unexpected things. Light travels in straight lines from the source to our eyes. This fact allows us to understand many of the cool things that light can do. In this lesson, we will observe how light creates mirages and shadows. And we will build a pinhole camera which makes things appear upside-down. We can understand the upside-down images by thinking about the straight line that the light took from the object to the screen.

0 0    

WRITE COMMENT

Go to Top